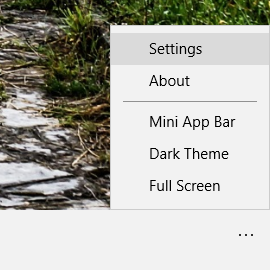
After installing PkgdView Terminal, you first need to add and configure session tabs. Session tabs are managed in Settings page and it can be accessed via [ Settings ] menu.
Please note that you can restrict the access to Settings page by configuring an "admin settings password".
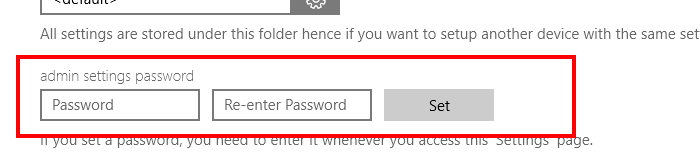
This password is also transferred while exporting the settings to a .PkgdView file. When such file is imported, the existing password is replaced with the one stored in the imported file, and the Settings page is automatically closed.
To add a session tab, please follow the steps described below.
STEP 1 Select a Home Folder
PkgdView Terminal stores all its settings under this folder. When you first install PkgdView Terminal, this folder is set to a hidden private data folder assigned by Windows. If you want to change the content (ex. macro files, private/public key files and etc.) of the folder directly, you can change the Home Folder to a new location where you can easily access from File Explorer.

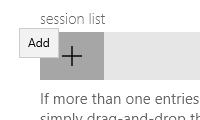
STEP 2 Tap [ + ]
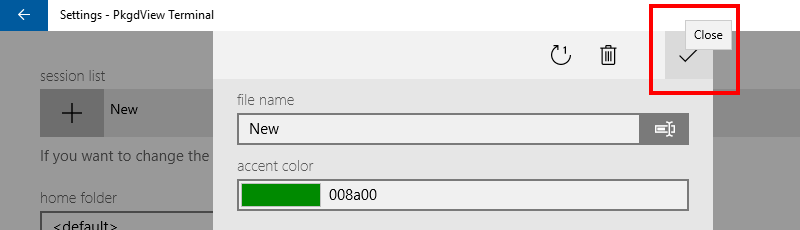
When you tap the "[ + ]" button and create a session item, you're actually creating a file for that entry and the name you enter will be used to create the file.
STEP 3 Adjust settings for the new session item
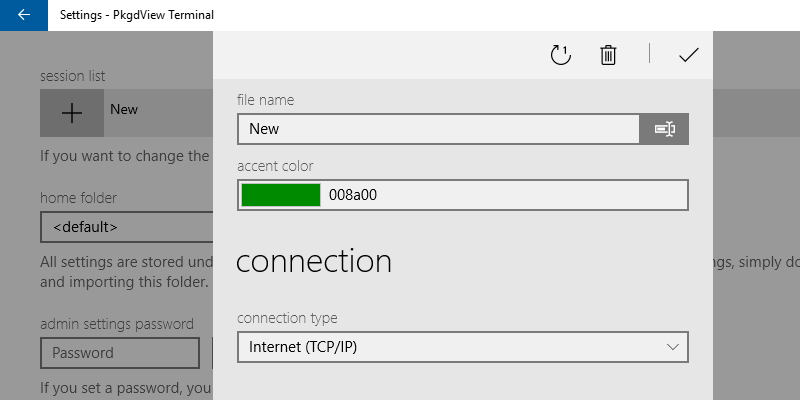
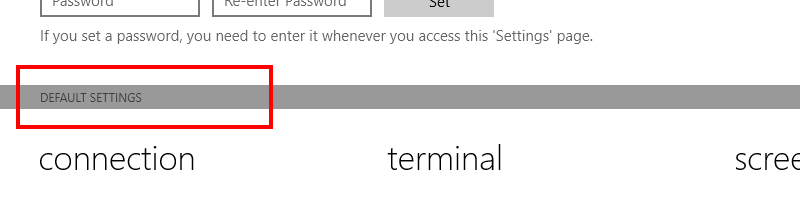
Initial settings are copied from "DEFAULT SETTINGS" of the main Settings page.
STEP 4 Tap 'Close' and save the settings
STEP 5 Repeat step 2 through 4 for your session items
When you need to change the display order of the session tabs, you can simply drag-and-drop the item to a new position.